Single node cluster migration guide
Migrate from single node cluster to a high availability cluster.
Prerequisites
To get started with your migration from a single node cluster to a high availability cluster, you’ll need the following prepared in advance:
- Kubernetes cluster running at least version
1.25and at most version1.35 - Single node BugSnag On-premise instance with the latest version installed
- Ruby 2.7 or higher on the single node BugSnag On-premise instance
Migration Overview
The migration process has the following steps:
Migrating the configuration – Converts the configuration on the single node instance to the Clustered version.
Configuring the instances to run in migration mode – Configures single node and Clustered instances to connect to each other to migrate the data.
Migrating the databases – Moves data from the single node instance to the Clustered instance. Any new events processed in the single node instance are migrated over. The Clustered instance will not process any events sent to it.
Configuring the instances to disable migration mode – Configures single node and Clustered instances to disable migration mode. Once done the instances are not connected to each other and will process events separately. After this point you cannot go back to migration mode.
Running the Post-Migration Script – Executes necessary database upgrades and reconfigurations on the clustered instance post-migration.
It is highly recommended to run Clustered On-premise in non-migration mode first before attempting a migration to ensure that the cluster is setup correctly. You can then clear the data prior to a migration by running kubectl delete namespace bugsnag.
When configuring the Clustered instance make sure the cluster is using appropriately sized nodes and the storage sizes for the databases are set correctly as these cannot be changed very easily after the migration is complete. Please contact us for recommendations according to your usage.
Once the migration has been completed and both instances are running in non-migration mode, you can safely change the DNS to route traffic to the new instance or reconfiguring the notify / session end-points in the application.
Running the migration
The migration can take some time and is dependent on the number of events you have, however you can continue to use your current single node instance whilst the data is migrating. We estimate that it takes around 1 hour to migrate 8 million events of data. There will be some downtime after the data has been migrated and Clustered BugSnag On-premise starts, this may take around 10-15 mins.
Migrating the configuration
Download migrate-settings.rb on the single node instance. Run the following command: ruby migrate-settings.rb --clustered. This will generate a config required for the migration: config.yaml.
Copy config.yaml to where you will be starting the migration.
Install Replicated KOTS admin console on high availability cluster
Follow the standard or airgapped installation guide to install Replicated KOTS. When you reach the step to install the admin console, supply your current license and migration config. For example:
kubectl kots install bugsnag-clustered-kots \
  --name Bugsnag \
  --namespace bugsnag \
  --license-file ./license.yaml \
  --config-values ./config.yaml
Migrate databases
On the high availability instance, reconfigure the instance as follows:
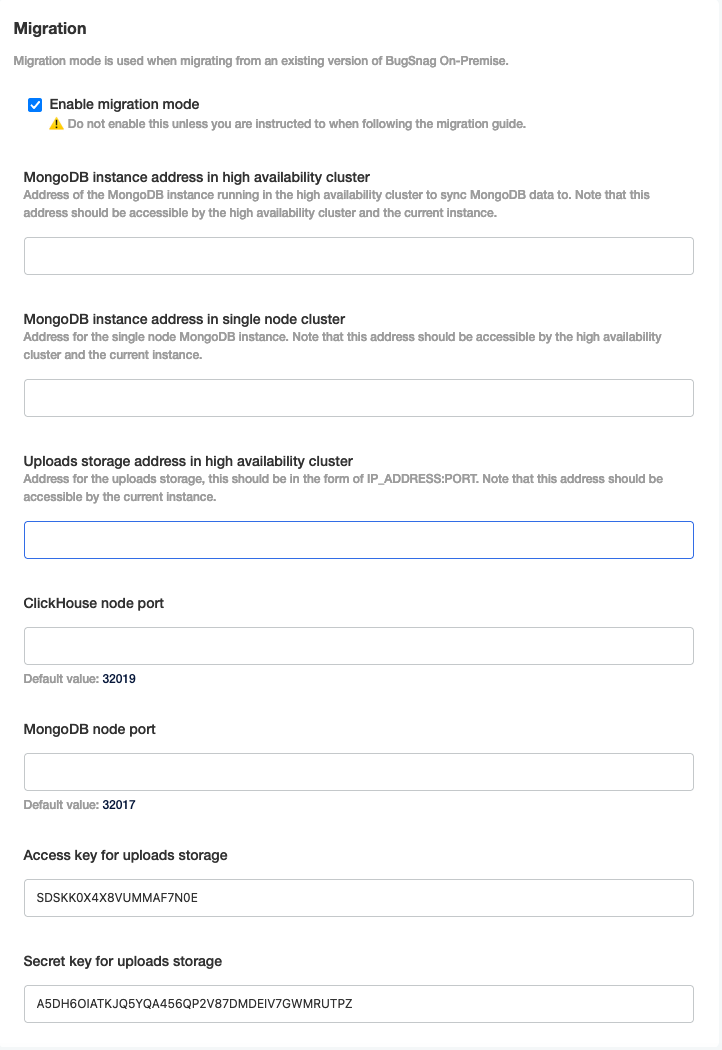
Configure via KOTS admin console to enable migration mode:
Setting Value ClickHouse instance address in single node cluster If Performance Monitoring is enabled. Address of the ClickHouse instance running on single node cluster: Single node instance IP:ClickHouse node port
This address should be accessible from the high availability cluster.ClickHouse table migration batch size (Optional) If Performance Monitoring is enabled. The number of rows to migrate in a single batch. This will affect how long the migration could take. ClickHouse node port (Optional) If Performance Monitoring is enabled. ClickHouse node port to use in the single node cluster configuration. MongoDB node port (Optional) MongoDB node port to use in the single node cluster configuration. Uploads storage node port (Optional) Uploads storage node port to use in the single node cluster configuration. Access key for uploads storage Access key for uploads storage. This should be the same as shown in the single node cluster configuration if not already. Secret key for uploads storage Secret key for uploads storage. This should be the same as shown in the single node cluster configuration if not already. Configure BugSnag to the settings you want to be using after the migration has completed in particular make the sure the following configuration is set correctly:
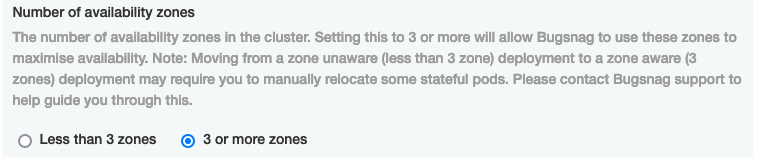
- Ensure the number of availability zones is set correctly under the Kubernetes section:
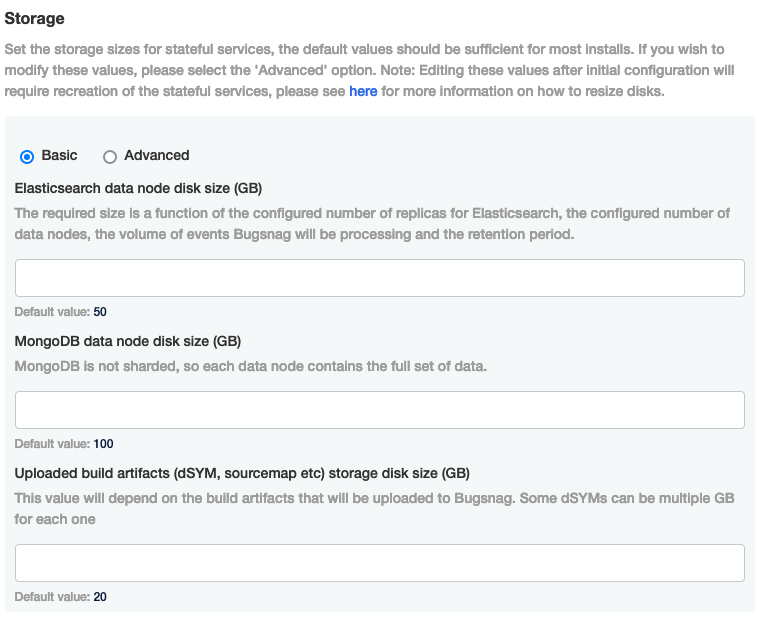
- Ensure that the storage sizes for the stateful services under Storage are set correctly as editing these values after initial configuration will require recreation of the stateful services:
- Ensure the number of availability zones is set correctly under the Kubernetes section:
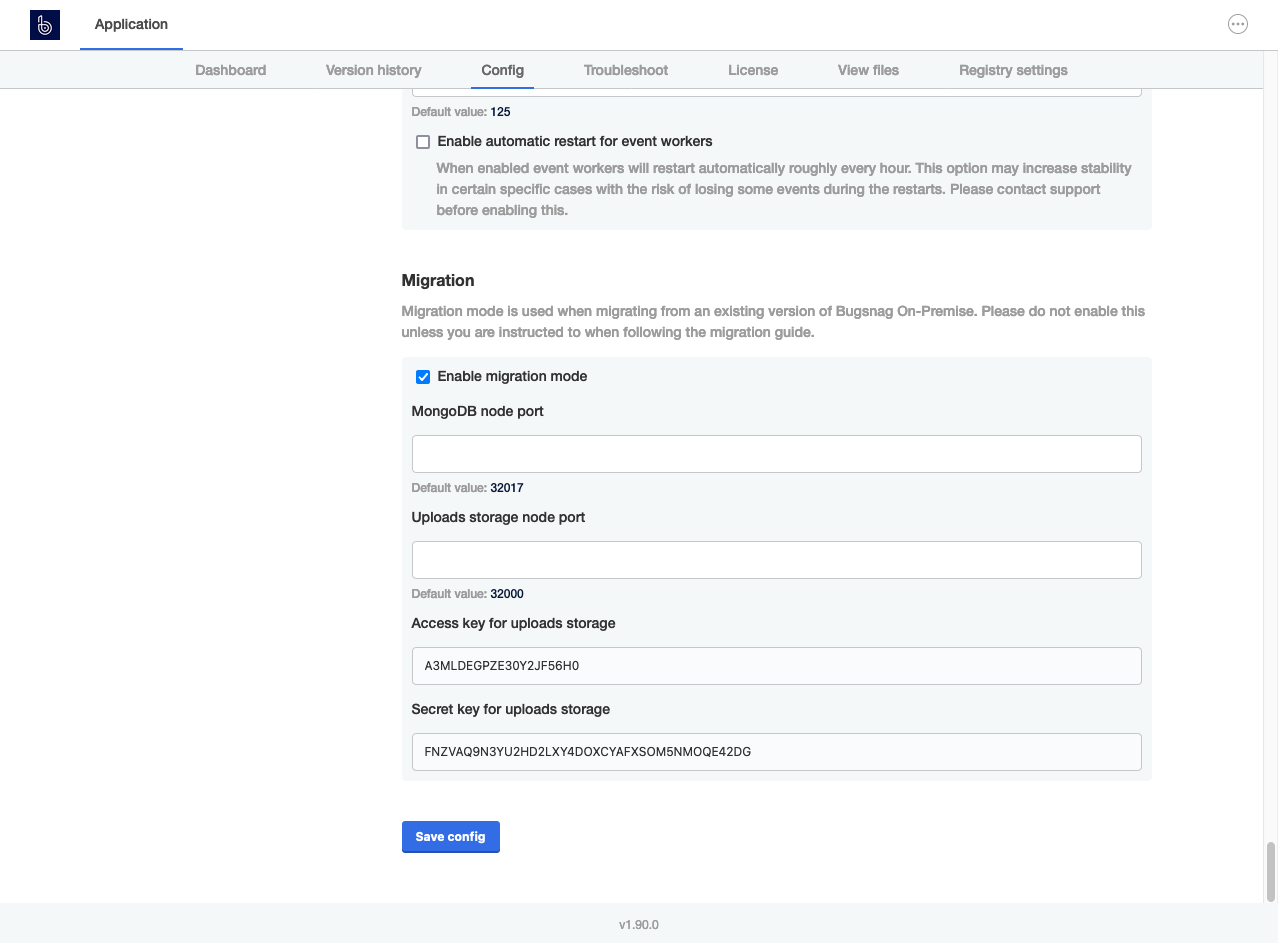
Click “Save config” and deploy. Make a note of the values in the migration config section which will be required as configuration on your single node instance.
On the single node instance:
Configure via KOTS admin console to enable migration mode:
Setting Value MongoDB instance address in high availability cluster Address of the MongoDB instance running on high availability cluster: Kubernetes Node IP:High availability MongoDB node port
This address should be accessible from the single node cluster.MongoDB instance address in single node cluster Address of the MongoDB instance running on the single node cluster : Single node instance IP:Single node MongoDB node port
This address should be accessible from the high availability cluster.Uploads storage address in high availability cluster Address of the uploads storage instance running on high availability cluster: Kubernetes Node IP:Uploads storage node port.Clickhouse node port (Optional) ClickHouse node port to use in the high availability cluster configuration. MongoDB node port (Optional) MongoDB node port to use in the configuration above. Access key for uploads storage Access key for uploads storage. For use in high availability cluster configuration. Secret key for uploads storage Secret key for uploads storage. For use in high availability cluster configuration. Click “Save config” and deploy, the migration will start once BugSnag has restarted. You can check the progress of the migration using the instructions below:
Monitoring uploads migration progress
You can check the progress of the uploads migration by running the following on the single node instance:
kubectl -n default logs -l app=migrate-uploads
Once this states “Migration of uploads completed.”, this migration is complete.
Monitoring MongoDB migration progress
You can check the progress of the MongoDB migration by checking the status of the replica set using the following command on the high availability cluster instance:
kubectl -n bugsnag exec -it mongo-0 -- mongo-local --eval "rs.status()"
If the MongoDB instance in Kubernetes is in STARTUP2 mode you can check the progress of the collection copying using the following command on the high availability cluster instance:
kubectl -n bugsnag logs -f mongo-0 | grep "repl writer worker"
Once the instance is in SECONDARY mode you can check the replication lag using the following command on the high availability cluster instance:
kubectl -n bugsnag exec -it mongo-0 -- mongo-local --eval "rs.printSlaveReplicationInfo()"
Once this states that the MongoDB instance is 0 secs behind master, this migration is complete.
Monitoring ClickHouse migration progress
If Performance Monitoring is enabled, you can check the progress of the ClickHouse migration by checking the status of the ClickHouse cluster using the following command on the high availability cluster instance:
kubectl -n bugsnag logs -l app=clickhouse-migrator
Once this states “Migration completed successfully.”, this migration is complete.
Migrate redis
Once the migrations above have finished run migrate-redis-kurl.sh on the single node BugSnag instance and select “Backup redis data” option to begin backing up the redis data from the instance.
This will create an archive with the redis data, this will need to copied to an instance with access to the high availability cluster along with the script.
Run migrate-redis-kurl.sh and select “Restore redis data” option specifying the archive location to begin migrating the redis data to the high availability cluster.
Configuring the instances to disable migration mode
Note that once migration mode has been disabled on both instances any new events sent to the single node instance will not be migrated.
There will be a period of downtime until the high availability installation is fully running and the error traffic has been routed over to the new instance.
Migration mode cannot be re-enabled once it has been disabled. You will have to start the migration from scratch.
Once all the migrations are complete, firstly run the post-migration mongo script:
Download and run post-migration-mongo.sh on the high availability cluster.
Download and run post-migration-mongo.sh on the single node instance, specifying
defaultas the namespace.
Then disable migration mode on both instances by configuring via KOTS admin console to disable migration mode and deploy the config change:
Post-migration actions
Elasticsearch reindex
Once BugSnag is running, Elasticsearch will require a reindex, which you can monitor using “Events in Elasticsearch/Mongo” graph under the “Support” dashboard on Grafana. There will be a period where historical events will not be available in the dashboard until the reindex has completed, any new events will show up on the dashboard immediately. We estimate that it takes around 1 hour to reindex 1 million events of data.
Reconfigure Grafana notifications
Grafana notifications are not migrated as part of this migration. You will need to reconfigure any Grafana notifications in your high availability cluster after the migration has completed.
To configure Grafana notifications in your high availability cluster please refer to our monitoring your instance documentation.