Google Cloud Identity setup
Control access to BugSnag using Google Cloud Identity SAML.
Setup
To configure access with Google Cloud Identity SAML (Organization admin access required):
In your BugSnag dashboard, select Single sign-on from your organization settings (shortcut:
go):- Copy the SAML endpoint URL to your clipboard.
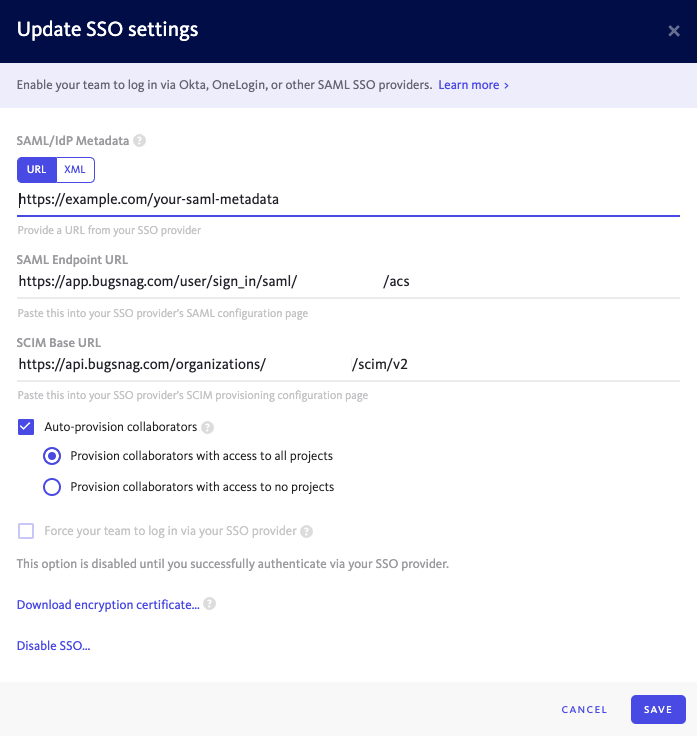
- Copy the SAML endpoint URL to your clipboard.
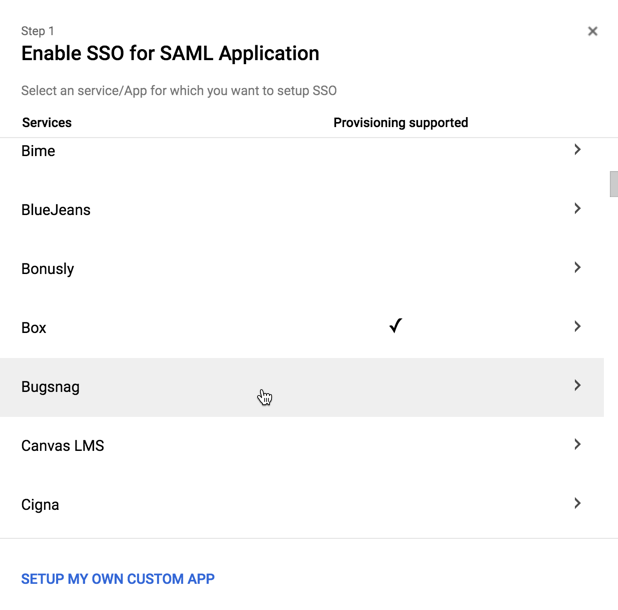
In the Google Admin console, select Apps then SAML Apps and click on the + to Enable SSO for a SAML application.
Scroll down and find “Bugsnag” in the application list and click on it.
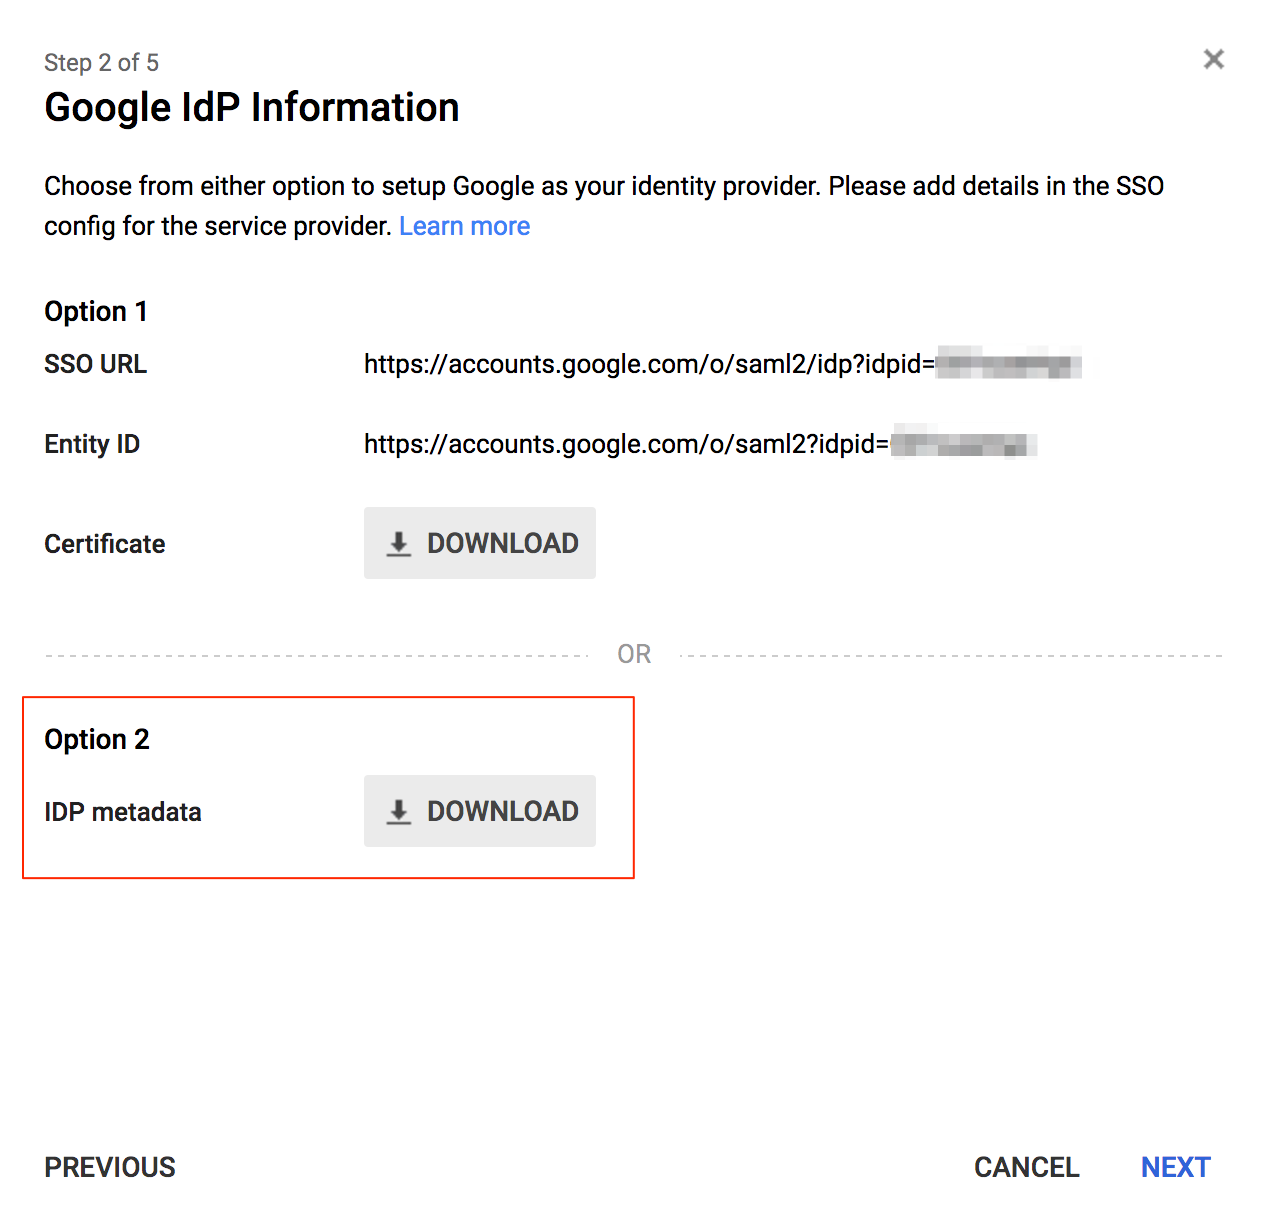
Under Option 2 download your IDP metadata file. This file will be used as part of the SSO configuration in your BugSnag dashboard.
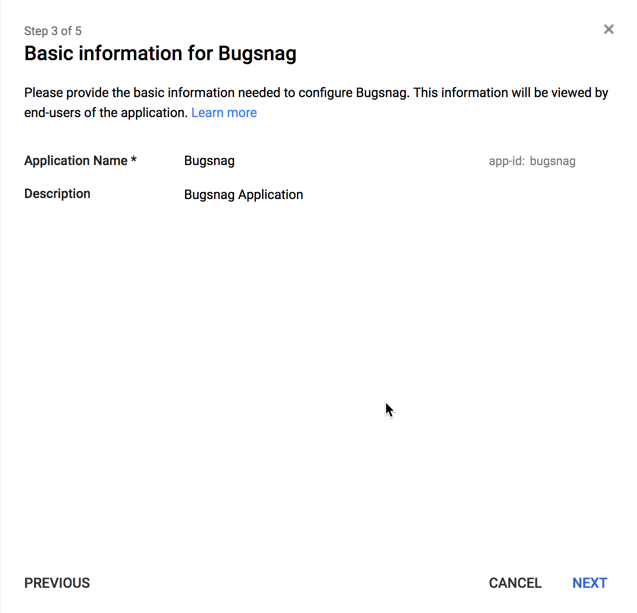
The application information is entered by default. Click next.
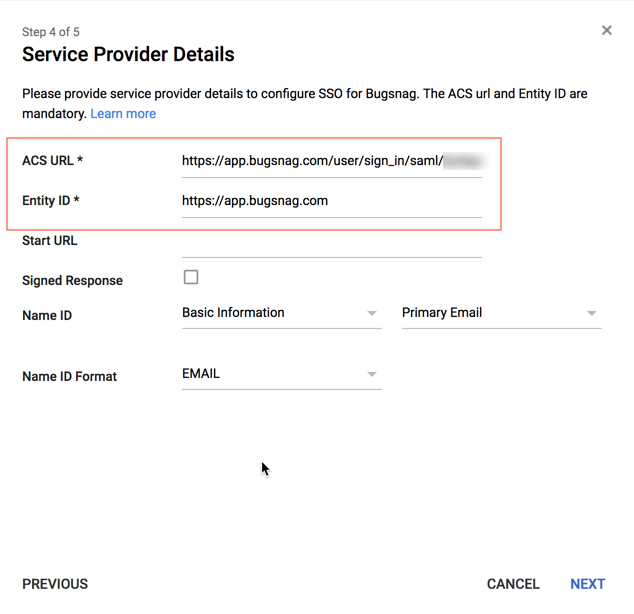
In Service Provider Details:
- ACS URL – Paste the URL copied from your BugSnag dashboard.
- Entity ID – Enter
https://app.bugsnag.com
(Note – use this ID for all dashboards, even for organizations on the BugSnag for Enterprise instance or On-premise unless theSSO_ENTITY_IDenvironment variable has been set.) - Select Next.
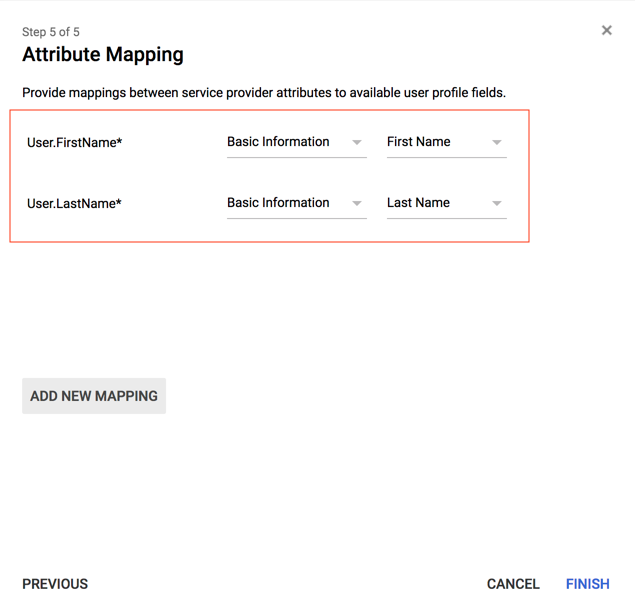
In Attribute Mapping:
- Add a mapping for
User.FirstNameandUser.LastNameas shown in the screenshot. - Select Finish.
- Add a mapping for
Enable the app for your users as required.
In your BugSnag dashboard:
- Copy the contents of the previously downloaded IDP metadata file and paste it into the XML Metadata in the SAML/IdP Metadata field.
- Select Auto-provision collaborators if you would like accounts to be automatically created for new users.
- Select whether users will be granted access to all current projects or no projects by default. Users will only be added up to your plan’s collaborator limit. After provisioning, access to projects can be managed by any Admin.
- Select Enable SSO.
You can now log in to your dashboard from your Google Cloud Identity SAML apps.
Session Timeout
If a SessionNotOnOrAfter value is present in the SAML authentication response, it will be used to set the timeout of the BugSnag session.
Please refer to your SSO provider’s documentation for more information on how to configure SessionNotOnOrAfter.