Jira
Learn how to set up a BugSnag integration with Jira.
The Jira integration allows an issue to be created in Jira for an error that is reported to BugSnag.
Connect to Jira
To set up the Jira integration on a project you first need to connect your BugSnag account to a Jira instance. You can view existing Jira connections via Organization Settings > Jira Connections.
Organization Administrator access is required in BugSnag to create and delete Jira connections.
Jira Cloud
To connect to a Jira Cloud instance, install the BugSnag for Jira app. During configuration you will select which BugSnag organization you want to connect to.
If you are on the BugSnag for Enterprise instance, we are currently unable to offer this integration on the Atlassian Marketplace. Please contact Support for manual installation instructions.
If the configuration screen fails to load and displays a “something’s gone wrong” message, please disable any ad-blockers and try again.
Jira Server and Jira Data Center
To connect to a Jira Server or Jira Data Center instance, select Jira Server and Jira Data Center and then enter your Jira instance URL, email, and API Token. For older versions of Jira Server that do not support API tokens enter a Jira password in the API token field.
The Jira user must have the following Project permissions:
- Create Issue
- Edit Issue
- Add Comments
If enabling two-way sync, the Administer Jira global permission is required for automatic configuration. A user without the Administer Jira global permission can be used for two-way sync but a Jira webhook will need to be created manually by a Jira administrator. Instructions on how to do this are presented when setting up two-way sync.
Configure a project integration
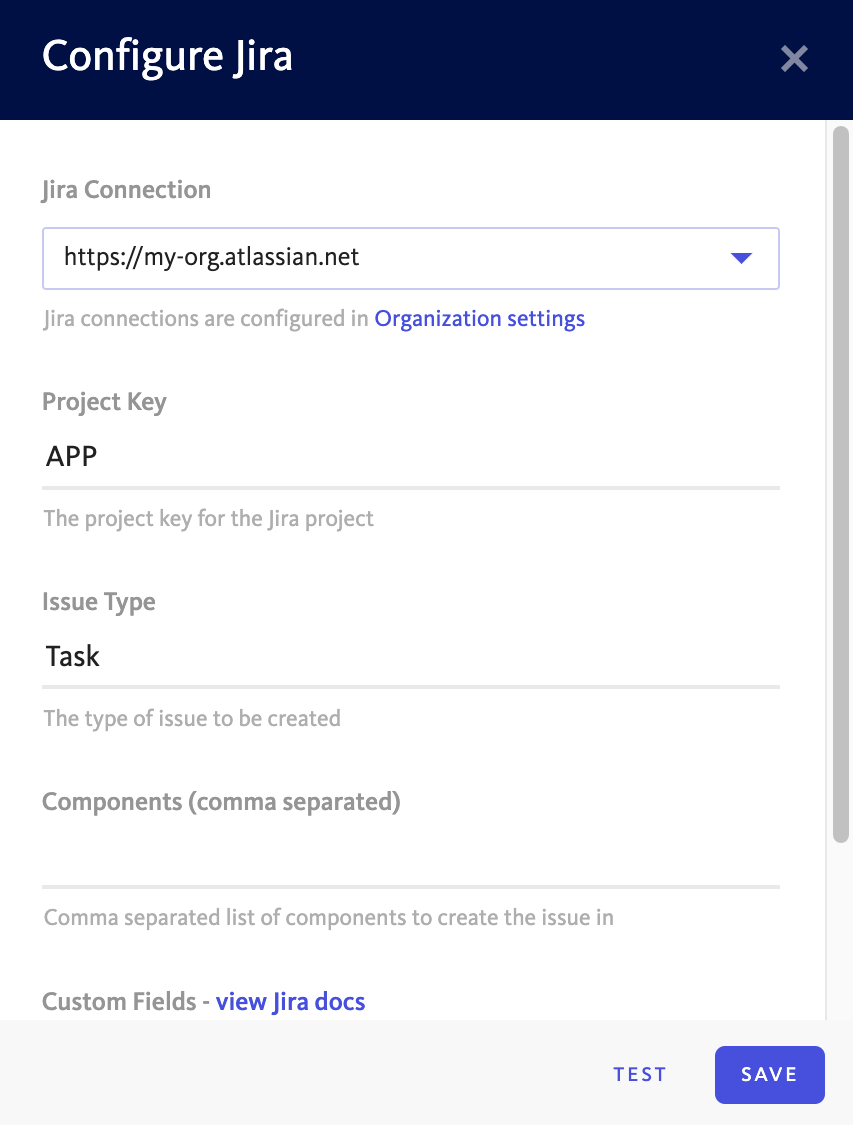
After configuring the connection, set up a Jira integration on a BugSnag project from Project Settings > Issue tracker, then select Jira from the Available integrations section.
Select the Jira connection and the Jira project key you want to create issues for.
Multiple Jira integrations can be configured for a BugSnag project which allows different issues to be created under different Project Keys. Contact us to gain access to this feature.
Creating issues
Issues can be created manually or automatically. Once an error has a linked issue, a comment will be added to the issue when the error changes between open and fixed, and when a comment is added to the error in BugSnag.
Manual issue creation
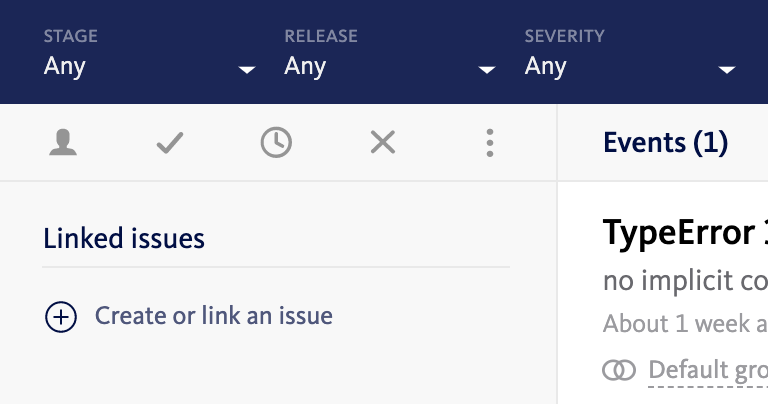
Create an issue manually by clicking on the + icon on the BugSnag dashboard.
With the Create an issue toggle selected, create a new linked issue by selecting the issue tracker from the dropdown and selecting the Create issue button.
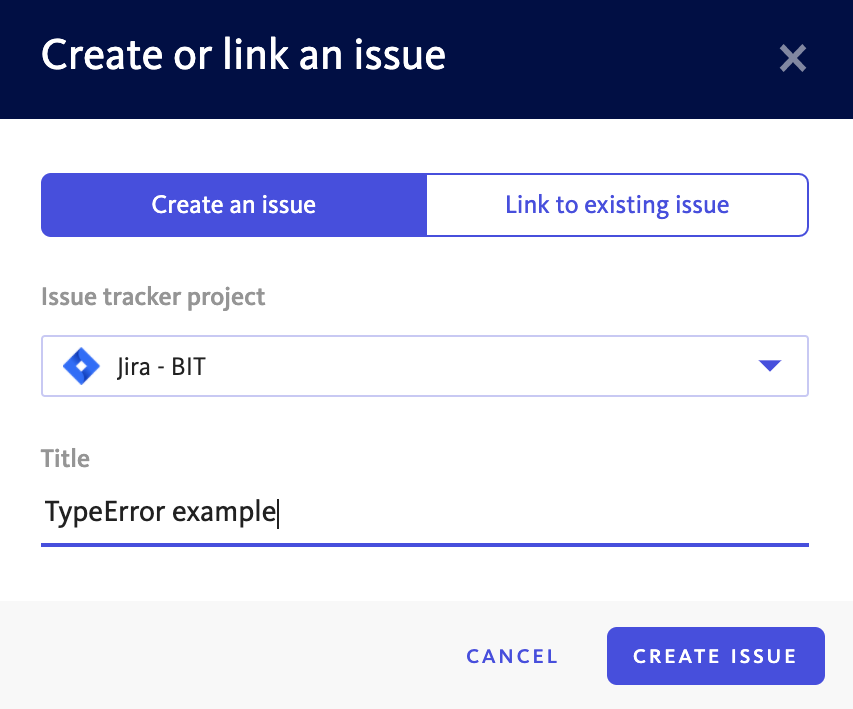
Alternatively, select Link to existing issue to add an issue using the URL.
Automatic issue creation
You can choose one of two ways allow BugSnag to automatically create an issue.
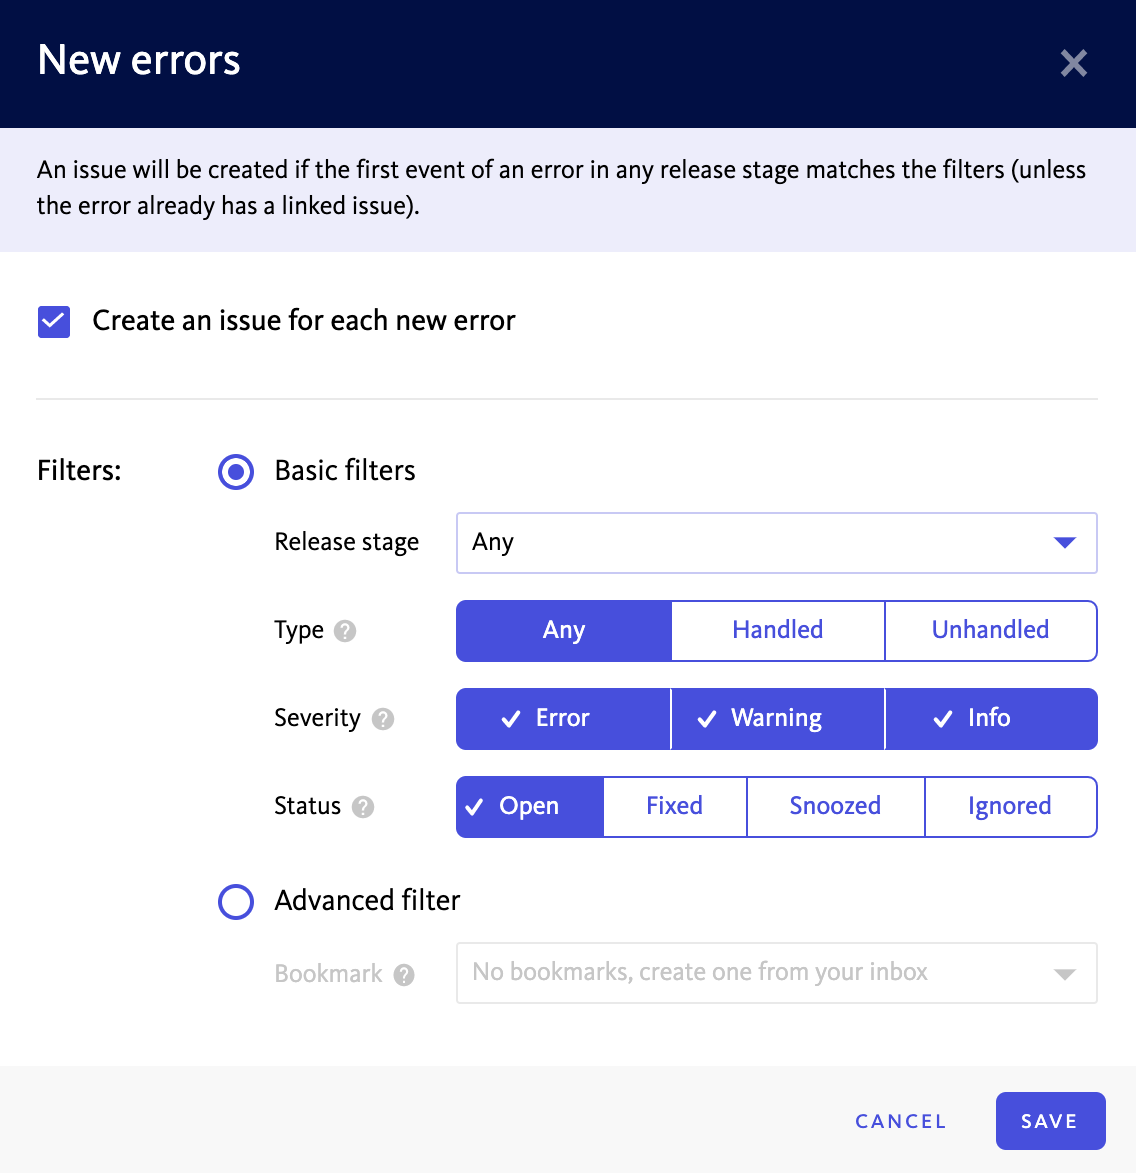
- Create an issue for each new error: Create a linked issue as soon as a new error is seen.
- Create an issue when a threshold is reached: Create a linked issue only when a certain number of events are seen in specific time interval. For example, 100 events in 1 hour.
Filters can be configured to define which errors should automatically create an issue in Jira. An issue will be created the first time an error occurs in a matching release stage, if there is no existing issue.
Basic filters
Basic filtering is provided for severity, type, and release stage.
- Filter by release stage: Select the release stage(s) that you want issues to be created for from the Release stage dropdown.
- Filter by type: Create issues for either handled or unhandled errors only. Find out more >
- Filter by severity: Create issues for certain severities by selecting severity option(s).
- Filter by status: Select the status option(s) that you want to include in your filter from the Status toggle.
Advanced filters
Advanced filtering leverages saved filtersets to enable you to create issues based on any field you can filter on using the filter bar. Advanced filtering is available on Preferred and Enterprise plans.
Two-way sync
The Jira integration has two way sync capabilities which means that errors in your dashboard can be kept in sync with the linked issue in Jira.
To enable two-way sync select Two-way sync and enable the automations you require.

The first two settings define the state that the linked Jira issue should be transitioned to when an error in your dashboard is marked as fixed or when it is reopened.
The last two settings define the behavior when a Jira issue transitions to or away from certain states.
With the default configuration a linked error will be marked as fixed when the Jira issue is transitioned to either Closed or Resolved. Correspondingly when a Jira issue is transitioned away from Closed or Resolved to any other state, the linked error will be reopened.
As Jira workflow states are entirely configurable, any state names can be entered (separated by commas).
Access through firewall
If your server’s security policy denies access from external IP addresses and websites, you will need to allow access to the following IP addresses:
- 104.196.245.109
- 104.196.254.247
- 107.23.160.224
- 34.231.155.113
- 34.235.33.231
- 52.207.146.211
- 52.55.78.127
Or if you are using On-premise, you will need to allow access to the address specified in Remote proxy URL in the Replicated KOTS admin console.