BugSnag is now Insight Hub – we're making some changes to how the product looks, but this won't impact the way you use BugSnag or any of your integrations.
Airgapped upgrade guide
Upgrade your BugSnag On-premise installation on a machine without an internet connection.
This page refers to BugSnag On-premise legacy single machine version 3. For the latest information please see BugSnag On-premise.
Upgrading your instance
If you are upgrading BugSnag On-premise on an internet connected machine please follow the online upgrade guide.
Upgrading BugSnag will take approximately 15 minutes.
During the upgrade:
- The BugSnag dashboard will be unavailable.
- Errors reported to BugSnag will not be stored for a short period. This will not impact the applications that are reporting errors to BugSnag.
Before upgrading, ensure you have backups of your current installation.
It is not necessary to upgrade notifier libraries used by your applications when upgrading BugSnag On-premise, although sometimes new features will require upgrading notifiers.
Download required files
Download the latest replicated release:
curl -L -o replicated.tar.gz https://s3.amazonaws.com/replicated-airgap-work/replicated.tar.gz
BugSnag will have provided you with a URL to download the offline installation package. You should download this and ensure the filename ends in .airgap.
curl -L -o bugsnag.airgap "<URL provided>"
Airgapped upgrade
Now copy the replicated.tar.gz file and the .airgap file to the destination server, ready for the upgrade. If BugSnag has provided you with an updated .rli license file, also copy that over to the destination server.
Update replicated:
tar xzvf replicated.tar.gz
cat ./install.sh | sudo bash -s airgap no-auto
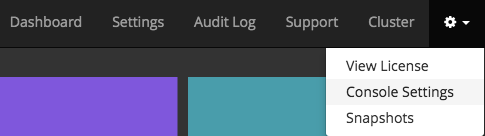
Access the Replicated management console and navigate to the ‘Console settings’ page by pressing the cog and pressing ‘Console settings’.
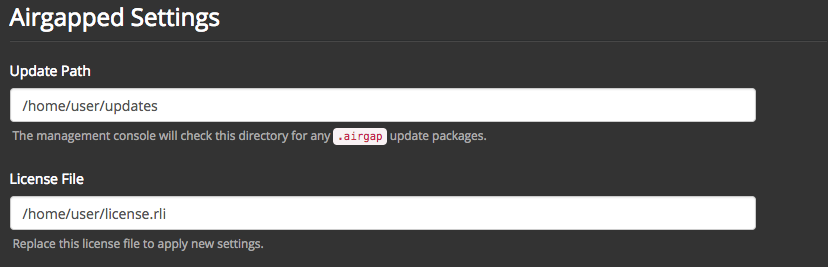
In the ‘Airgapped Settings’ section there should be two fields:
- Update Path – The directory to place new update packages. The Replicated management console will check this directory for any .airgap update packages.
- License File – The file path of the license file. Replace this license file to apply new settings.
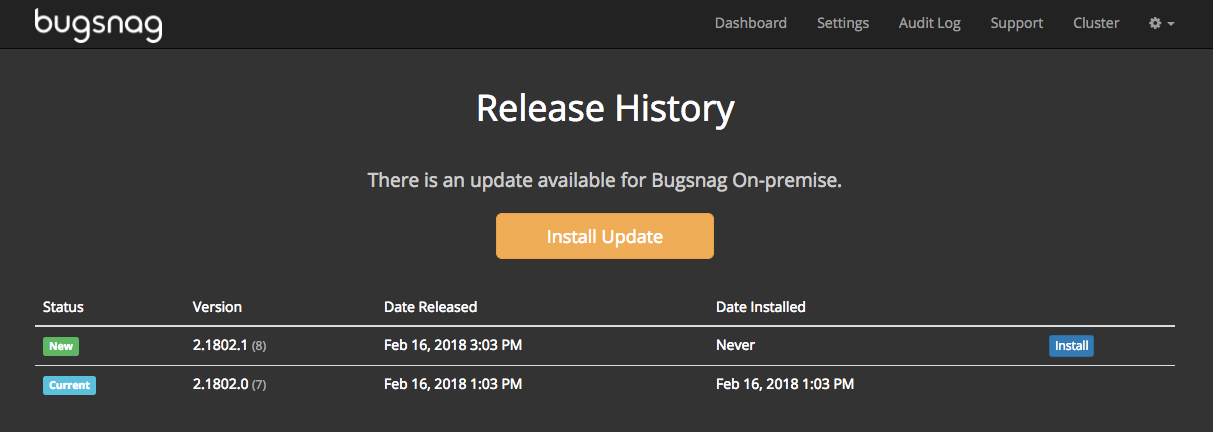
Place an update package in the ‘Update Path’ directory. In the Replicated management console, click the Dashboard button and then press the ‘View Update’ button.
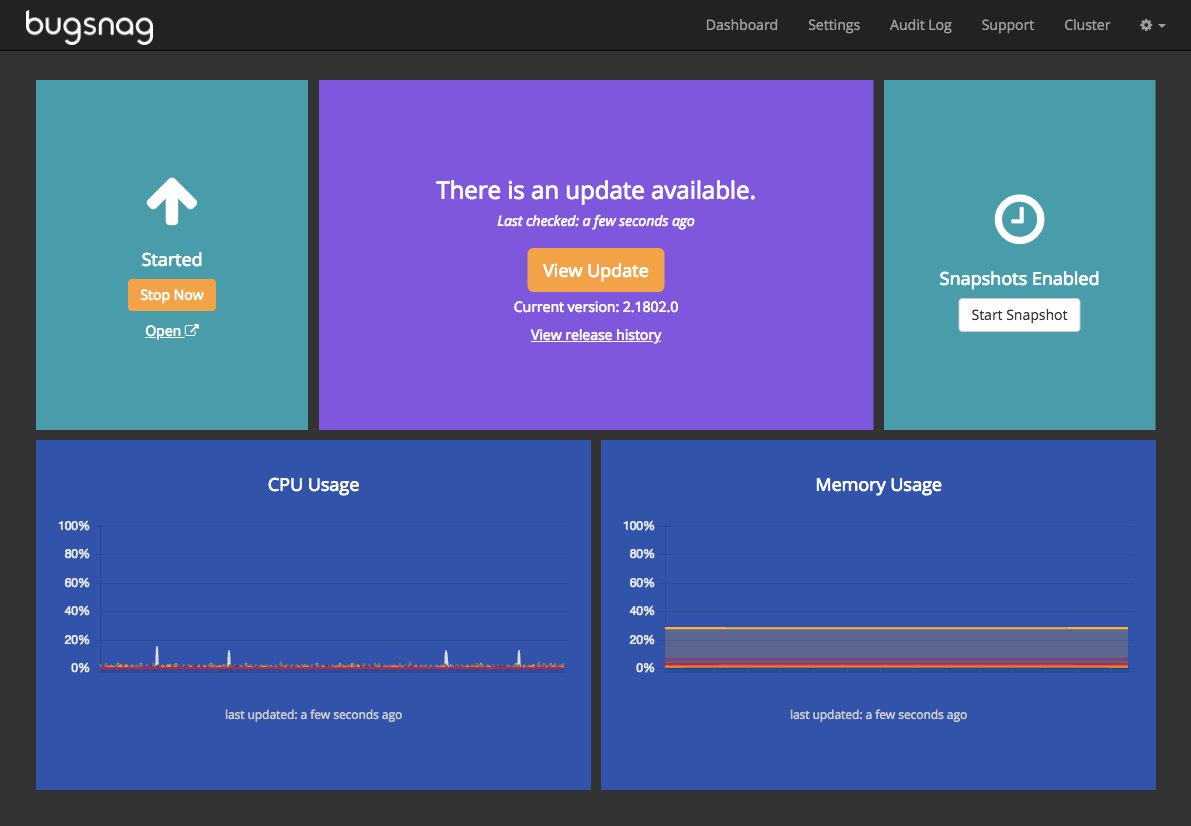
This will take you to the Release History page. Press the Install Update button to start upgrading your installation.
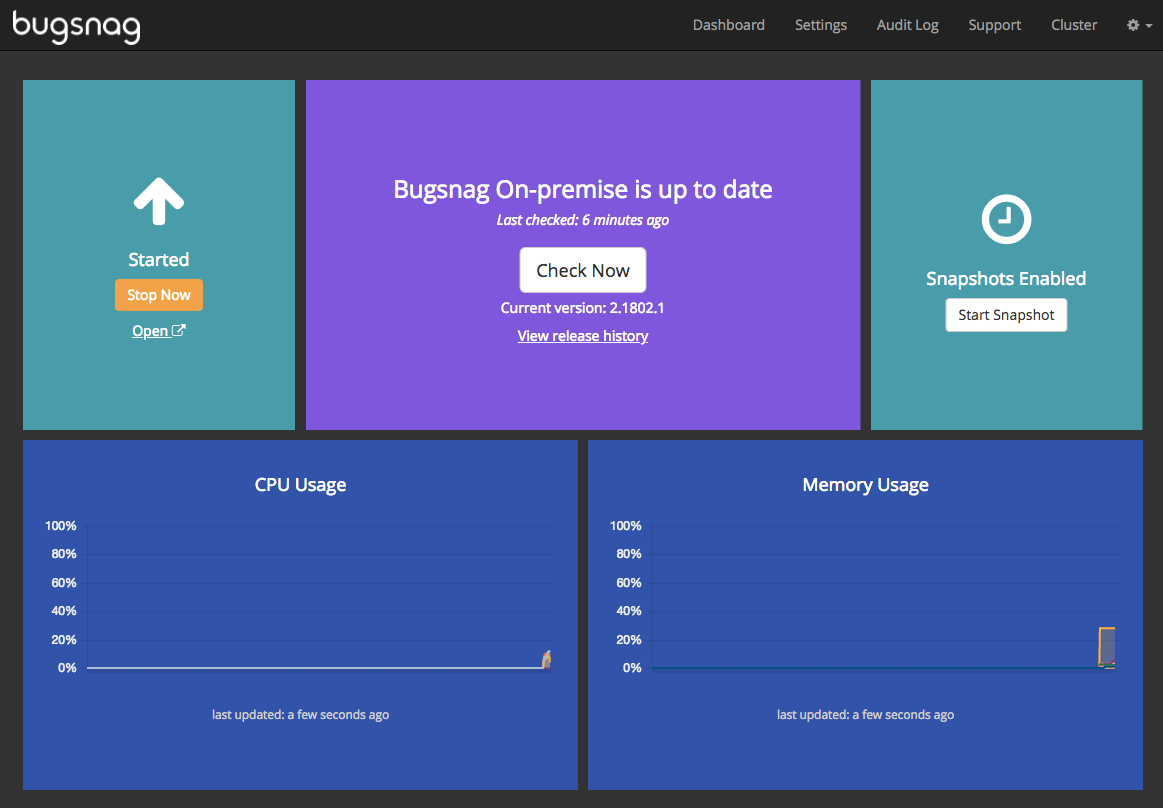
Once the upgrade has completed the management console will indicate that it is Started.