Airgapped installation guide
Install your On-premise version of BugSnag on a machine without an internet connection.
This page refers to BugSnag On-premise legacy single machine version 3. For the latest information please see BugSnag On-premise.
Before installation
To get started with your BugSnag On-premise installation, you’ll need the following things prepared in advance:
- If this is your first time installing BugSnag On-premise, you’ll need to contact us to schedule a guided installation. We’ll get you set up with a license key, and walk you through the installation process.
- A server meeting the minimum system requirements.
- SMTP credentials are required for installation. These are used to invite collaborators and receive error notification emails.
Airgapped Installation
If you are installing BugSnag On-premise on an internet connected machine please follow the online installation guide.
BugSnag On-premise uses Replicated to perform and manage installations. To install BugSnag On-premise we first need to install and configure Replicated.
Download required files
Download the latest replicated release:
curl -L -o replicated.tar.gz https://s3.amazonaws.com/replicated-airgap-work/replicated.tar.gz
BugSnag will have provided you with a URL to download the offline installation package. You should download this and ensure the filename ends in .airgap.
curl -L -o bugsnag.airgap "<URL provided>"
Now copy the replicated.tar.gz file and the .airgap file to the destination server, ready for the installation. Also copy the .rli license file provided by BugSnag over to the destination server.
Install Replicated
Now on the destination machine, run through the replicated installation procedure:
tar xzvf replicated.tar.gz
cat ./install.sh | sudo bash -s airgap no-auto
The installation script will attempt to automatically detect the private IP address of the machine. If the script is unable to detect the machine’s IP address it will present you a list of network interfaces to choose from, select the one has the machine’s IP address on your network. Typically this will be the eth0 network.
Access the Replicated management console
After installation, the Replicated management console will be available at https://SERVER_IP:8800.
Upon first visiting the Replicated management console you will be asked to set a hostname and certificate for the management console. Doing so will remove the SSL certificate warning when accessing the management console, but you can continue with the self-signed certificate and update this later if you prefer.
Install BugSnag On-premise
Upload license
Upload the .rli license file you received from BugSnag and select the Airgapped installation method to continue.
Select airgap package
Now provide the full path to the .airgap file.
Management console password
Once the license has been uploaded and validated, you should set a password for the management console – this is particularly important if you are exposing it to a public network and will be required to access the management console again in the future.
Preflight checks
You will then be presented with the preflight check page, this will analyze the system to determine if the environment meets the minimum requirements. These checks are done to ensure that your installation is successful, and although you can skip these checks and force an installation, we recommend you consult with us before doing so.
BugSnag configuration
Finally, configure your installation as directed on the settings page, save and start BugSnag.
In the console settings page, there is a section to set the Airgap mode settings. You can install updates by downloading a new version of the .airgap package and placing it in the location specified on the console settings page. You will need to sync the license when we send you a new version of it, replacing it at the location specified.
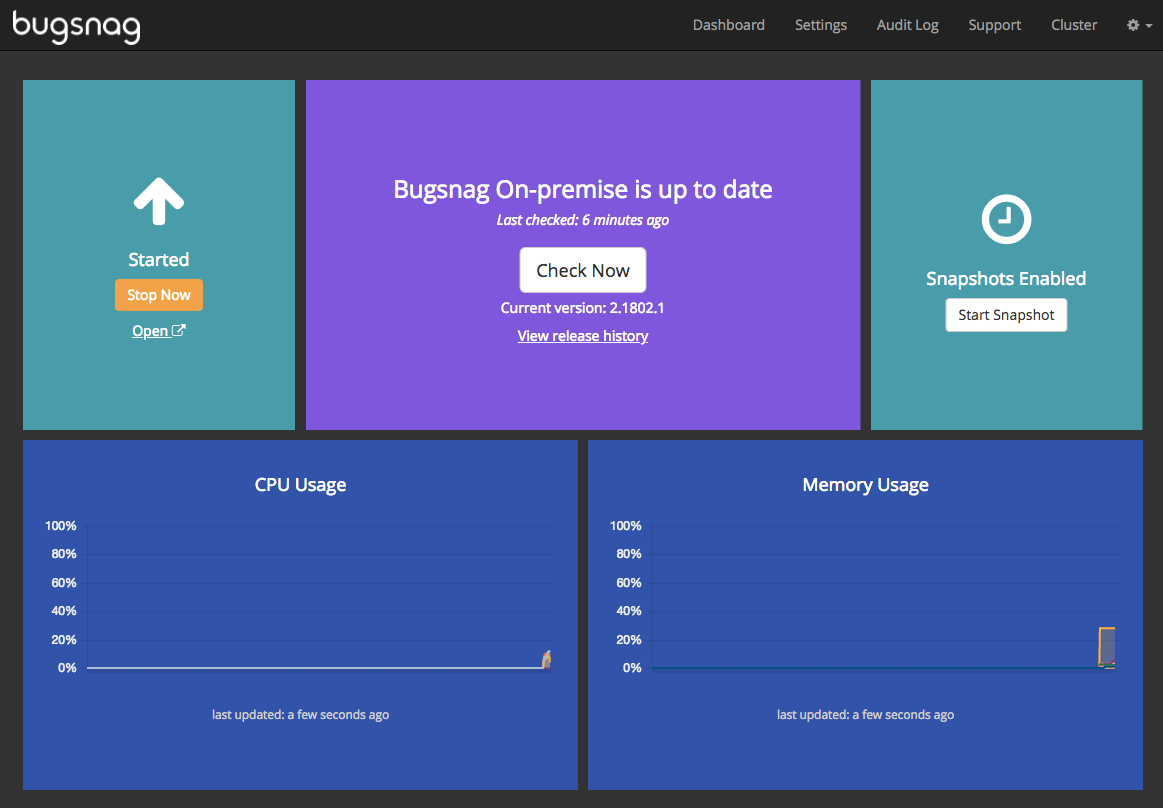
It can take several minutes for BugSnag On-premise to fully start up; when it is ready the management console will indicate that it is Started.
Account & project creation
Now BugSnag is running, you should be able to access the BugSnag dashboard, where you’ll need to create your account and first project.
Visit your BugSnag dashboard in a web browser (available by default at x.x.x.x:49080) to set up your account and create projects for each of the applications you wish to monitor.
Configure platform SDKs
Once you have created your account and first project, follow the instructions to configure platform SDKs so your applications send error and session information to your BugSnag instance.